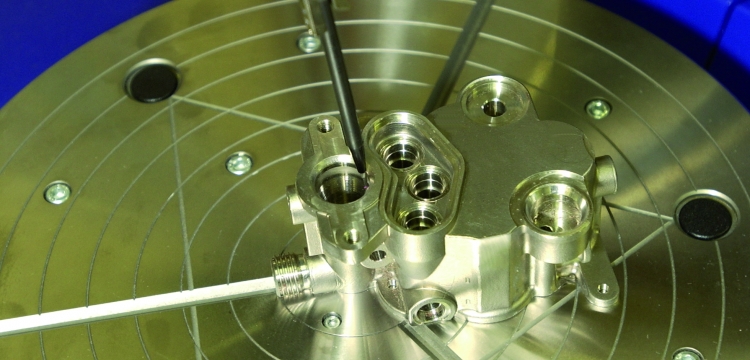
Get a high-precision 3D-view of your circular parts (shape defects, cylindricity, circular roughness)


3D metrology for circular parts
Your expectations
You want to characterize the state of a circular part or cylinder after machining (manufacturing parameters) or use (record corrosion defects depth, understand a tightness or wear defect) or need to choose most reliable control parameters. You need to:
• use 3D-cylindric mapping
• measure circularity parameters, cylindricity, vertical or horizontal straightness, parallelism, simple or multiple flatness, perpendicularity, concentricity or excentricity, coaxiality, partial arc circularity or flatness (linearity)
• measure circumferential surface state (for example on sealing surfaces)
• perform an harmonic analysis
Our solutions
We bring you a metrology service on a Talyrond 365 machine belonging to the new range of circularity measuring instruments who are renowned for their accuracy and reliability (radial accuracy <0.02µm, cone error 0.0003 µm/mm, calibration up to 18000 points in rotation and 200000 points in horizontal straightness)
The testing is non-destructive
Your benefits
• Cetim's metrology experts guarantee the method used and best-time results
• our technical center is equipped with many complementary measuring means

